How to Boost Social Media Reach With the Right Tool (Case Study)
The pursuit of digital visibility has always been a moving target for marketing teams. Over the last eleven years, I have watched platforms rise and fall, but the core challenge remains the same: how do we get our content seen without burning out our staff? I remember a specific Tuesday in 2018 when a major API update broke our entire scheduling pipeline for thirty clients. We spent forty-eight hours manually uploading videos and tagging accounts while our expensive software sat idle. That experience taught me that the best software is not the one with the most features, but the one that stays connected and saves time.

Identifying Bottlenecks in Visibility Workflows
Identifying bottlenecks requires a deep look at where your team loses time during the content creation and distribution process. This involves auditing your current software to see if it truly helps you reach more people or if it just creates more admin work. You must map every step from the first draft to the final click.
In my experience, social media tool evaluation starts with a simple question: does this tool remove a human step? Most teams lose five to ten hours a week just moving files between folders. This is what I call “software bloat.” It happens when you pay for a tool that does the same thing as another tool you already own. To fix this, you need to list every subscription and check for overlapping features.
A common bottleneck is the approval process. If your team lead has to log into three different apps to approve one post, your workflow is broken. A high-value visibility tool should centralize these tasks. I once consulted for an agency that used one app for captions, another for images, and a third for scheduling. By merging these into one unified system, they cut their production time by 30% in the first month.
- Audit all current subscriptions for feature overlap.
- Track the time spent on manual data entry between platforms.
- Identify “API friction” points where posts frequently fail.
- Document the number of clicks required to publish a single post.
Evaluating the ROI of Engagement-Driving Software
Evaluating return on investment (ROI) means looking past the monthly subscription fee to see the true cost of operation. You must calculate the work-hours saved against the licensing fee and the potential for increased organic reach. A tool is only valuable if the time it saves costs more than the software itself.
When I conduct a digital marketing software ROI analysis, I look at the “fully loaded cost.” This includes the subscription, the time spent training the team, and the cost of any missed posts due to technical errors. Many leads forget that a $200/month tool might actually cost $1,000/month if it requires five hours of troubleshooting every week.
The following table shows a typical comparison I use when helping agencies choose a new platform. It compares a basic native scheduler against a high-end management suite.
| Metric | Native Platform Tools | Professional Management Suite |
|---|---|---|
| Monthly License Fee | $0 | $300 – $800 |
| Setup & Integration Time | 1 – 2 Hours | 10 – 15 Hours |
| Monthly Maintenance Hours | 20 Hours | 5 Hours |
| API Stability Rating | High (Native) | Variable (Third-Party) |
| Multi-User Permission Levels | Limited | Advanced |
| Estimated Monthly Labor Cost | $1,000 | $250 |
Interestingly, the more expensive software often pays for itself within ninety days by reducing labor costs. However, this only happens if the team actually uses the tool. If the interface is too complex, your team will revert to manual posting, and you will be left with a useless bill.
Managing API Stability and Connection Reliability
API stability refers to how consistently a third-party tool can talk to platforms like Instagram or LinkedIn. An API, or Application Programming Interface, is the digital bridge that allows your scheduling software to send data to the social network. If this bridge breaks, your reach drops because your content never goes live.
I have seen many marketing team automation efforts fail because of “token expiration.” This is when the security key between your tool and the social platform resets. If your team isn’t monitoring these connections, you might miss a high-traffic window for a client. I recommend setting up a “connection check” every Monday morning to ensure all accounts are still linked.
Reliable software will offer a dashboard that shows the health of your API connections. When evaluating a tool, ask for their average uptime statistics. Most top-tier tools maintain a 98% or higher uptime for their publishing services. If a company cannot provide this data, they are likely not monitoring their own infrastructure closely enough.
- Check for automated alerts when a social account disconnects.
- Review the tool’s history of handling platform API changes.
- Ensure the tool supports “Direct Publishing” for all major formats, including Reels and Carousels.
- Verify how the tool handles “Rate Limits,” which are caps on how much data can be sent at once.
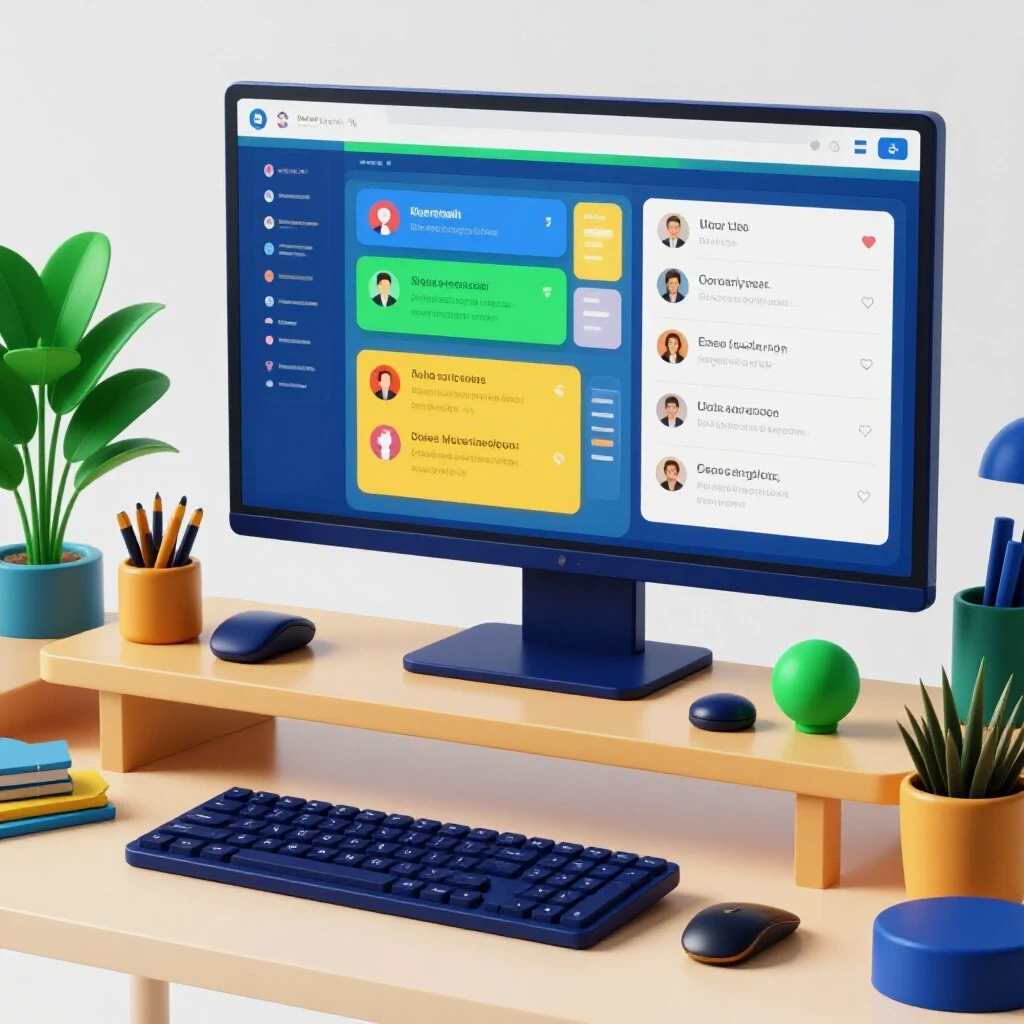
Building a Unified Content Asset Pipeline
A unified asset pipeline is a centralized system where all images, videos, and captions live before they are scheduled. This system ensures that every team member has access to the right version of a file at the right time. It prevents the common mistake of posting low-resolution images or old logos.
In my work with larger teams, the biggest reach-killer is “asset fragmentation.” This is when the designer puts a file in Dropbox, the copywriter puts the caption in a Google Doc, and the manager is left trying to piece them together. A high-quality workflow efficiency tool should have a built-in library where these elements live together.
When you integrate a centralized asset manager, you also improve your security. You can manage user permissions so that a junior staffer can upload content, but only a director can hit “publish.” This reduces the risk of accidental posts that could damage a brand’s reputation.
- Centralized Media Library: All files stored in one searchable location.
- Version Control: Tracking changes to captions and graphics over time.
- Permission Matrices: Defining who can view, edit, or approve content.
- Cloud Integration: Connecting the tool directly to Canva, Adobe, or Google Drive.
Testing and Sandbox Strategies for New Tools
A sandbox is a safe testing environment where you can try out new software without affecting your live social media accounts. Running test scenarios allows you to see how a tool handles bulk uploads or complex scheduling before you commit your full budget. This phase usually takes five to fifteen days.
I never recommend moving an entire team to a new tool overnight. Instead, I suggest a “parallel run.” For one week, post to one low-stakes account using the new tool while keeping the rest on your old system. This allows you to catch any bugs or workflow friction before they impact your main clients.
During this testing phase, pay close attention to the “automation triggers.” For example, if you set a post to go live at 10:00 AM, does it actually appear on the platform at 10:00 AM? Check the formatting of the emojis and the links. Some tools break link previews, which can significantly lower your click-through rates and overall visibility.
- Create a “test” brand account on one platform for experimentation.
- Run a bulk upload of at least twenty posts to test system stability.
- Invite one power user from your team to try the interface and provide feedback.
- Document any errors or “ghost posts” that fail to publish.
Training and Onboarding for Operational Efficiency
Training is the process of teaching your team how to use new software effectively to meet your business goals. Onboarding should focus on how the tool fits into your specific agency workflow, rather than just clicking buttons. Good training reduces the friction that often comes with changing software.
I have found that most software transitions fail not because of the tech, but because the team hates the new process. To avoid this, I create “Standard Operating Procedures” (SOPs) that are tool-specific. These are simple, one-page guides that show exactly how to move a post from “Draft” to “Scheduled.”
A successful onboarding timeline usually looks like this: – Day 1: Admin setup and permission configuration. – Day 2-3: Core team training on basic scheduling and asset management. – Day 4-7: Advanced training on reporting and analytics dashboards. – Day 10: Full team transition and decommissioning of old tools.
By the end of the second week, your team should be able to navigate the software without asking for help. If they are still struggling, the tool might be too complex for your current team structure.
Reporting on Workflow Savings and Growth Metrics
Reporting involves collecting data on how the software has changed your team’s output and the performance of your content. You should track both “internal metrics” (time saved) and “external metrics” (reach and engagement growth). This data justifies the software cost to your stakeholders or clients.
When I report on visibility-enhancing software, I look for a “correlation of consistency.” Usually, when a team uses a reliable scheduling tool, their posting frequency becomes more stable. This stability is often rewarded by platform algorithms, leading to a natural increase in reach.
Use the following metrics to evaluate your tool’s performance after the first sixty days:
- Work-Hours Saved: Total hours spent on social tasks before vs. after implementation.
- API Uptime Average: The percentage of posts that published successfully on the first attempt.
- Engagement Rate Change: Any increase in likes, comments, or shares linked to better posting times.
- Content Volume: The total number of posts your team was able to produce with the same amount of effort.
If you see that your team is spending 20% less time on manual tasks, that is a clear win. You can then reinvest those hours into community management or high-level strategy, which further drives visibility.
Optimizing Budget and Avoiding Software Bloat
Budget optimization is the ongoing process of ensuring you are not paying for features you do not use. Software bloat happens when a tool adds “AI assistants” or “advanced listening” features that carry extra costs but add no value to your specific workflow. You must stay vigilant against “subscription creep.”
I review our software stack every six months. I look at the usage logs to see which features are actually being touched. If we are paying for a “Pro” plan but only using “Basic” features, I downgrade immediately. Most scheduling software companies will not tell you when you are overpaying; you have to find it yourself.
Another hidden cost is the “user seat” tax. Some tools charge $50 per month for every new team member. For a growing agency, this can break the budget quickly. I prefer tools that offer “flat-rate” pricing for a certain number of brands rather than charging per person. This allows your team to grow without your software bill doubling every year.
- Review usage logs every quarter to identify unused features.
- Compare “per-user” pricing vs. “per-brand” pricing models.
- Negotiate annual contracts to save 10-20% on licensing fees.
- Consolidate tools whenever a single platform adds a feature you were paying for elsewhere.
Future-Proofing Your Social Media Tech Stack
Future-proofing means choosing tools that can adapt to new platform features and changing API rules. The social media landscape changes fast, and you need a tool that has a history of quick updates. A tool that took six months to support TikTok videos is a tool that will hold your team back in the future.
Building a tech stack that improves reach is about finding the balance between automation and human creativity. No tool can write a perfect post for you, but the right tool can make sure your best work gets in front of the right people at the right time. Focus on stability, ease of use, and clear reporting.
As you move forward, remember that the most expensive tool is the one that breaks your workflow. Choose reliability over flashy features every time. Start by auditing your current bottlenecks today, and you will see the results in your team’s productivity and your clients’ growth by next month.
Frequently Asked Questions
What is the biggest sign that our current scheduling tool is failing? The most obvious sign is a high rate of failed posts or “API disconnects.” If your team spends more than an hour a week reconnecting accounts or manually fixing posts that didn’t go live, the tool is costing you more in labor than it is worth.
How long should it take to fully integrate a new visibility tool? For a mid-sized team, a realistic timeline is 5 to 15 days. This includes setting up permissions, migrating assets, and completing team training. Any tool that claims “instant” integration usually ignores the time needed for team adoption.
Why does my reach drop when I use third-party scheduling software? This is a common myth. Most platforms do not penalize third-party tools. However, reach can drop if the tool strips out metadata, breaks link previews, or posts at the wrong times. Using a high-quality tool that preserves post quality will not hurt your reach.
What are API rate limits, and why do they matter for my team? Rate limits are caps set by platforms like Facebook or X on how many actions a tool can take in a certain timeframe. If your tool is poorly coded, it might hit these limits, causing your posts to be delayed or blocked entirely.
How do I manage user permissions to prevent accidental posts? Look for tools that offer “Role-Based Access Control” (RBAC). This allows you to assign specific roles like “Contributor,” “Editor,” and “Admin.” This way, a new intern can draft a post, but it cannot go live until an “Admin” approves it.
Is AI writing inside scheduling tools actually worth the extra cost? Only if it speeds up your specific workflow. Many AI assistants in social tools are just basic wrappers for generic models. If your team already uses a dedicated AI writing tool, paying extra for one inside your scheduler is likely a waste of money.
What is the difference between “Direct Publishing” and “Reminder Posting”? Direct publishing means the tool sends the post to the platform automatically. Reminder posting sends a notification to your phone, and you have to hit “post” manually. For maximum efficiency and reach, you should always look for tools that support direct publishing.
How can I justify the cost of a premium tool to my agency director? Present a cost-benefit analysis showing the hours saved. If a $500 tool saves your team 20 hours of manual work a month, and your average hourly labor rate is $50, the tool is saving the agency $1,000 a month in productivity.
What should I do when a platform’s API goes down? Always have a “Manual Backup Plan” in your SOPs. This should include a list of login credentials and a library of ready-to-go assets. Reliability is the goal, but no third-party tool is 100% immune to platform-side outages.
How often should I audit my social media software stack? I recommend a full audit every six months. This allows you to catch “subscription creep,” evaluate new features, and ensure your team isn’t using outdated methods that limit your content’s visibility.
(This article was written by one of our staff writers, Benjamin Foster. Visit our Meet the Team page to learn more about the author and their expertise.)